T-72M1
Ref :
Tamiya #35160
The T-72 appeared in 1972.
It benefits from a simplified design as compared to the one of
the over sophisticated and expensive T-64. It has kept the 125mm
2A46 gun and its autoloader which enabled to reduce the crew down
to three servants.
The secondary armament is the 12.7mm NSVT AAMG and a 7.62mm co-ax
MG. It is fitted with 12 smoke dischargers.
Displaying a small size and having a good mobility, more than
20000 tanks have been produced in the Eastern bloc but also in
Indian factories. It has a hundred of variants and derivatives.
The kit is produced by Tamiya and the fording kit by Panzershop. The latter is no more in the catalogue of the Czech brand. The 16 page instruction booklet is clear. The kit comes with 4 sprues plus a separate lower hull, a set of vinyl tracks, some plastic tubing and metal wire and photoetched grilles. A sheet of decals allows the decoration for 2 WarPac countries, one Russian and one Iraqi tanks.
The detail level is good
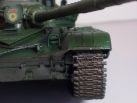
however Tamiya did two major mistakes. The frontal armor on the
glacis plate does not suit a Russian vehicle, thus it is sanded.
The turret is wrong shaped notably in the front. This one is hard
ot correct. It is still possible to get the turret from Blast
Models.
The building is done following the instructions steps. The hull
is built without any difficulty. The log supports pins on the
rear deck are cut away and the plastic log is replaced by a twig
of the right dimension. The cover exhaust provided by Panzershop
is set in place.
As mentioned above, the upper hull requires the sanding of the
glacis armor plate. Only when it's done , the various parts can
be glued. One plastic rod piece is needed to replace the one
above the V removed in the sanding step. The remaining steps do
not need any commentaries.
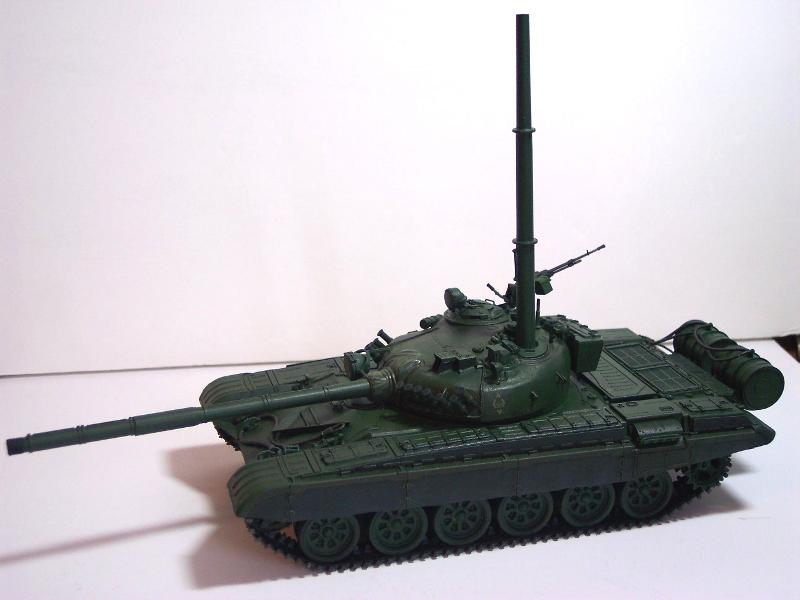
The turret requires some modifications to represent a tank fitted
to cross a river underwater. First of all, the schnorkel must
not be installed. The fasteners are glued to the turret after the
removal of the parts welded to the tube itself. The latter are
done in plastic card using the kit parts as templates. Two small
screw holes must be drilled out into each part. The supporting
leg is cut from the kit schnorkel and glued to the Panzershop
tube.
The gunner hatch is replaced by Panzershop one. The small hatch
for the schnorkel setting is glued in the open position. Then
the tube is cemented as well taking care that it must be in a
right vertical position when the gunner hatch is in place.
The power cords for the spotlights and the smoke dischargers are
added. The caps of the dischargers are slightly hollowed. The
metal rod maintaining the gun mantlet cover is added and the
muzzle cover is done from lead foil.
The decoration is that of a Guard tank. Tamiya provides us with its spray can range Olive Green reference. The applied shade is the XF58 Olive Green . A dark green shading is applied before a second XF58 layer is sprayed over it. A gloss varnish coat is applied to facilitate the decals setting and the first weathering step. Then a mat varnish coat is sprayed prior the final weathering.
Despite its flaws, this Tamiya kit remains a good basis and is easy to build. The Panzershop set fits it very easily.
 |
 |
 |
 |
 |
 |
 |
 |
 |
|
 |
 |
 |
 |
 |
 |
 |
 |
 |
 |
 |
 |
 |
 |
 |
 |
 |
 |
 |
 |
 |
 |
 |
 |
 |