Ref : Revell #03021
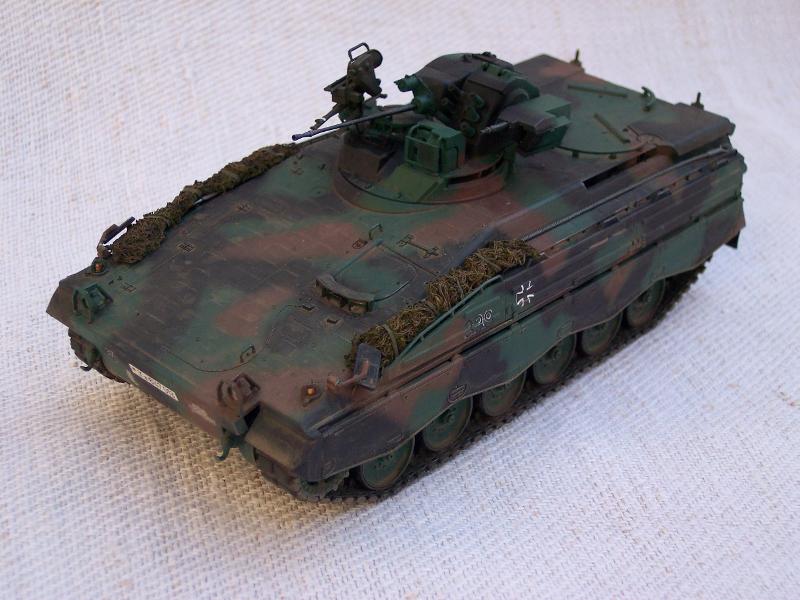
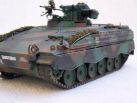
The SchützenPanzer Marder 1A3 has been developed as a response to the fielding in the Soviet
arsenal of the BMP-2 IFV. It is an upgrade of the earlier Marder 1 which was
accepted for service in 1970. Up to 2136 IFV were in active duty in the
Bundeswehr, the German army.
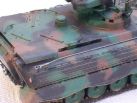
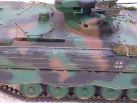
The main changes implemented in this variant are a better protection of the
front and the sides, the removal of the overhead MG from the troop compartment
and its setting to the left of the cannon, the removal of the firing ports and
the setting of three hatches on the troop compartment roof.
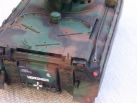
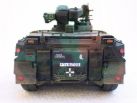
The Marder has a crew of three and can carry six infantrymen. It mounts a 20mm
automatic cannon and a co-axial 7.62mm MG. In addition, a Milan antitank post
can be mounted to the right of the cannon.
The kit is issued by
Revell, the specialist of modern German armor. It comes in 3 main sprues, the
hull halves being separate parts, plus 1 clear part and 1 polycap sprues. The
tracks are single-piece vinyl ones. One sheet of decals enables 6 different
decorations.
The 16 page instructions booklet is clear. The building is divided into 26
steps.
The detail is sharp and nice, the cast is very good with few pin ejector marks
visible.
The building starts
according to the instructions by the chassis. No surprise there. The suspensions
arms are molded solid as well as the springs. You just have to set the wheels in
place using the polycaps to keep them moveable.
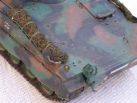
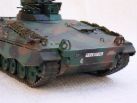
The hull assembly is easy thanks to an excellent fit of both halves. At this
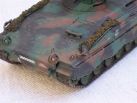
step, you'll have to set the tracks as the skirts will prevent any further
access. The tracks are the bad point of the kit as the details are soft.
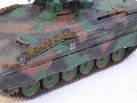
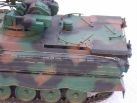
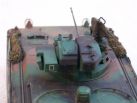
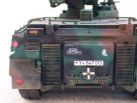
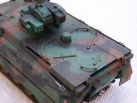
The upper hull does not require a lot of attention. It is an easy build. Unfortunately Revell decided to represent all the hatches solid. For those willing to show them open with a crew member, a German manufacturer MSJ Produkte has a range of set designed for this kit. The rear hatch is moveable but the interior being empty, you'll have to make one of your own to show it lowered.
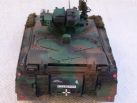
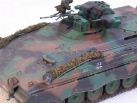
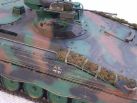
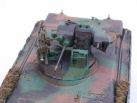
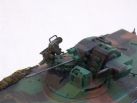
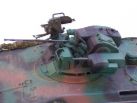
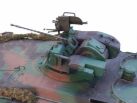
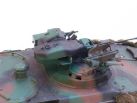
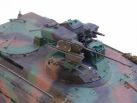
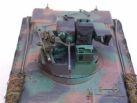
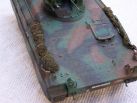
The turret is small but complex. The cannon and the MG box are moveable but they are not connected together. So we must pay attention to their correct alignment. Their muzzles should be drilled. The main sight glass (part#43) is represented solid. The bravest could remove the "glass" and keep the frame only then make a glass from clear plastic. A flashlight on a post is provided but this is an option. The Milan firing post is quite slim as compared to the real thing. But Revell molded it as a single piece so apart from using an aftermarket part, you have no solution to give it a better look.
The last step consists in fitting the vehicle with two towing cables and camouflage nets. I didn't use the kits nets and made some from a Verlinden reference with tin foil straps.
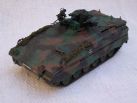
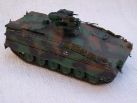
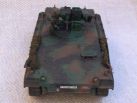
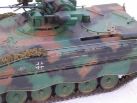
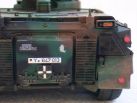
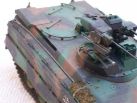
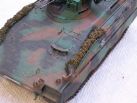
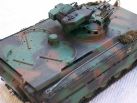
The camouflage scheme
is the classic 3-tone currently in use in the Bundeswehr. Revell recommend their
own paint range but I used the following Tamiya references : XF1 flat black,
XF58 olive green and XF64 red brown.
The vehicle represented belong to the 2 Kompanie/PanzerGrenadier Battalion 152
as seen in 1996.
As a conclusion, this is a good kit which is easy to build and has its place in a modern armor kit collection.
|
|
|
|
|
|
|
|
|

|

|
|
|
|
|
|
|
|
|
|
|

|
|
|
|

|
|
|
|
|
|
|
|
|
|
|
||||